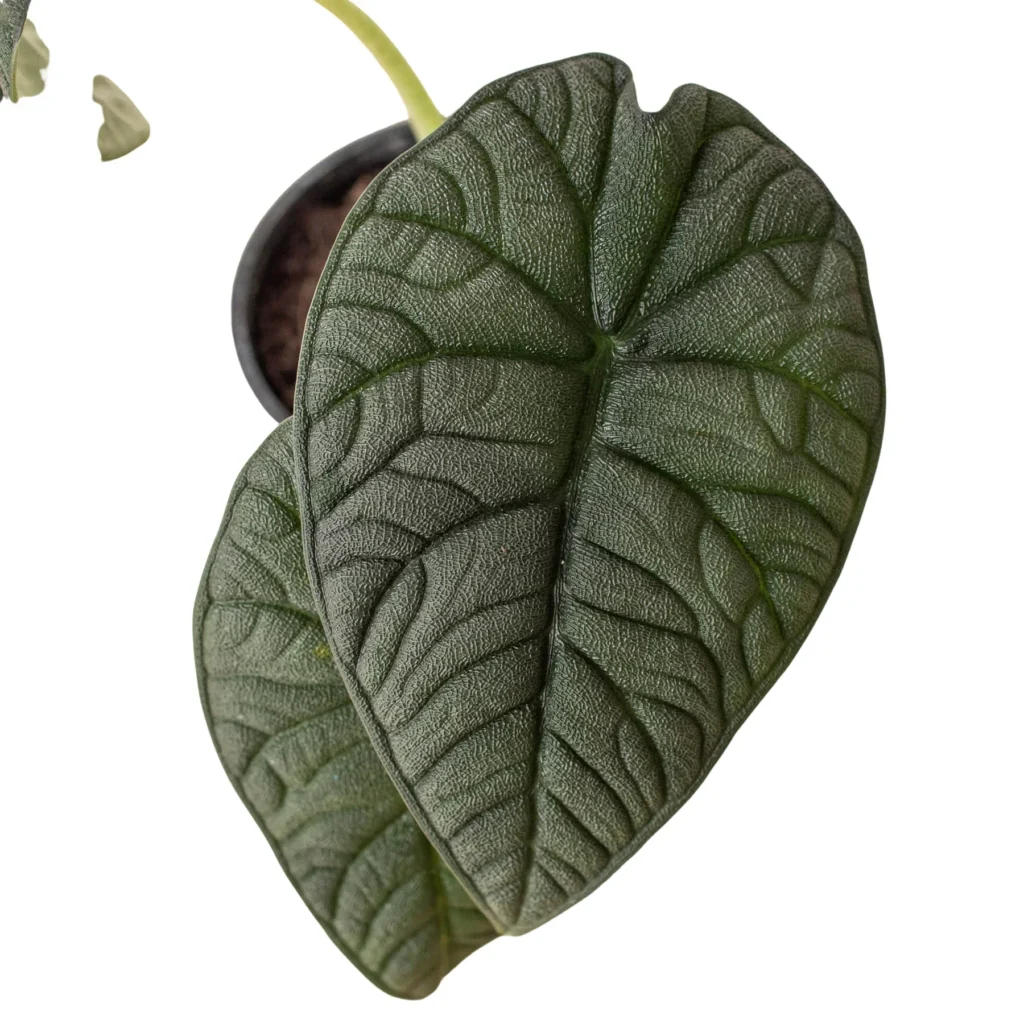
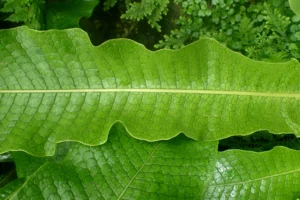
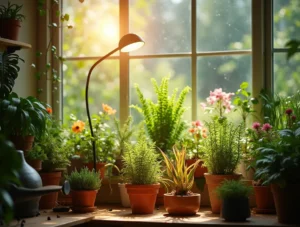
Alocasia Melo, often referred to as the “Jewel Alocasia,” is a stunning houseplant that has captured the hearts of plant enthusiasts with its distinctive, thick, leathery leaves and intricate veining. Originating from the lush tropical forests of Southeast Asia, particularly Borneo, this plant is admired not only for its unique appearance but also for the touch of elegance it adds to any indoor space.
However, growing Alocasia Melo is not without its challenges. This plant requires specific care to thrive, making it essential to understand its needs deeply. Whether you’re a seasoned plant parent or a beginner looking to expand your indoor jungle, this guide will walk you through everything you need to know to grow and care for Alocasia Melo like a pro.
On This Page
Understanding Alocasia Melo
Origin and Background of Alocasia Melo
Alocasia Melo is native to the tropical rainforests of Borneo, where it thrives in humid, shaded environments. In the wild, this plant grows under the canopy of larger trees, receiving filtered sunlight and constant moisture. Understanding its natural habitat is crucial for replicating these conditions in your home to ensure your Alocasia Melo flourishes.
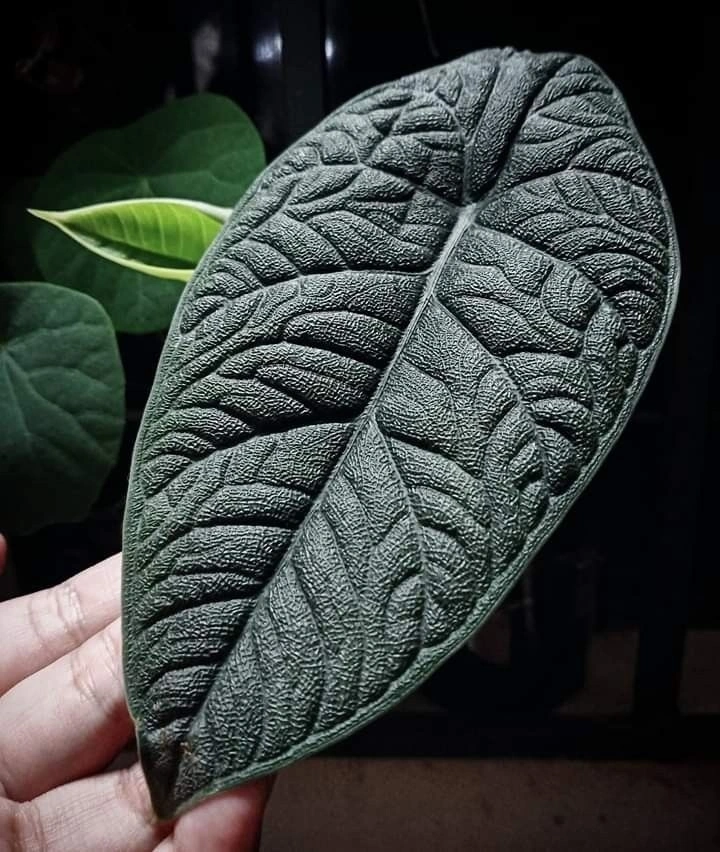
The plant belongs to the Araceae family, which includes other popular houseplants like the Monstera and Philodendron. Alocasia Melo stands out among its relatives due to its rugged, almost prehistoric look. The thick, dark green leaves have a leathery texture, making them more resistant to pests and diseases compared to other Alocasias.
Characteristics of Alocasia Melo
Alocasia Melo is a compact plant, typically reaching about 12-18 inches in height, making it ideal for small spaces. Its leaves are the main attraction, featuring a deep green color with prominent veins that create a beautiful contrast. The texture of the leaves is another unique characteristic; they feel almost like plastic, giving the plant a sturdy appearance.
The plant’s growth pattern is also worth noting. Unlike some Alocasias that can grow quite large, Alocasia Melo remains relatively small and manageable. This makes it a great choice for those who want the dramatic look of an Alocasia without the need for a large space.
In terms of care, Alocasia Melo requires more attention than some other houseplants. However, with the right knowledge and care, it can become a stunning centerpiece in your indoor garden. The following sections will provide in-depth guidance on how to replicate the plant’s natural environment, ensuring it remains healthy and vibrant.
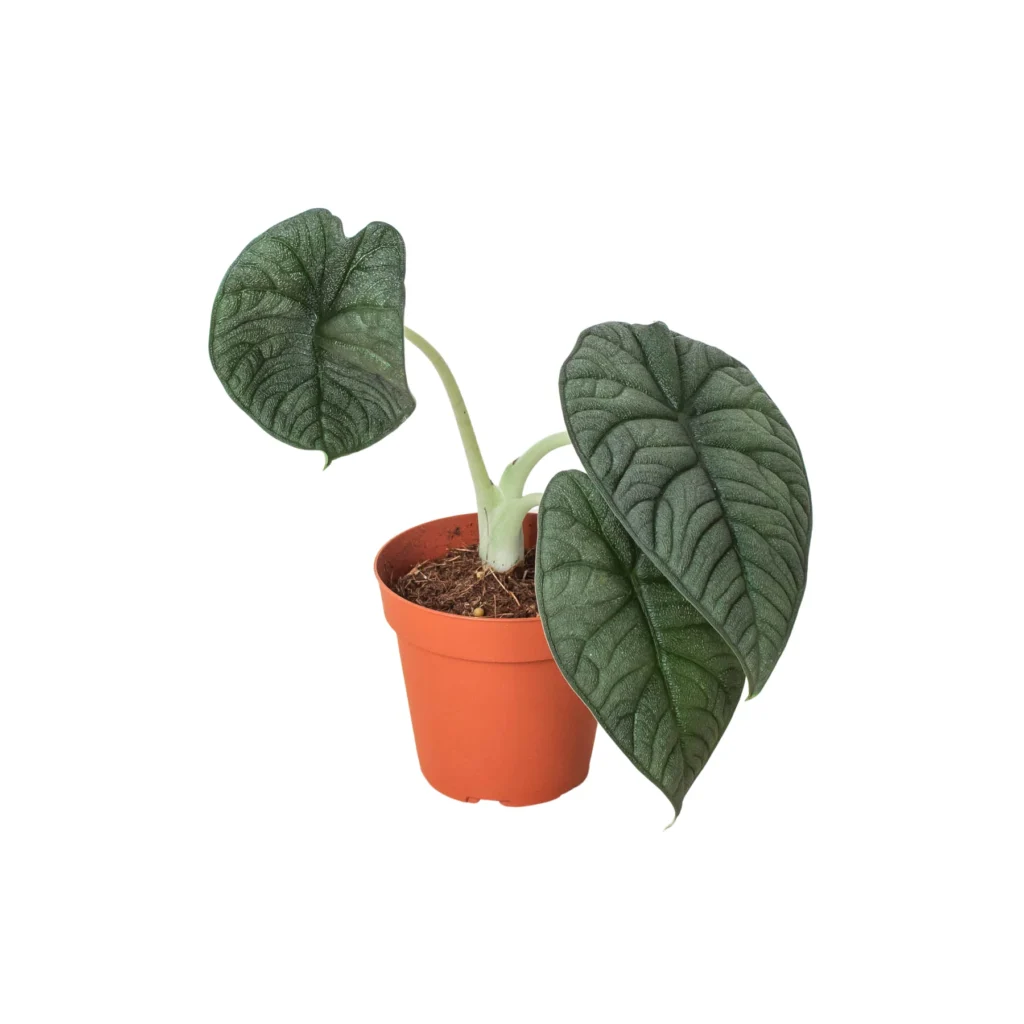
Ready to add an Alocasia Melo to your plant collection? You can find high-quality Alocasia Melo plants here. These stunning plants are perfect for both beginners and experienced plant enthusiasts looking to elevate their indoor jungle
Growing Alocasia Melo Indoors
Ideal Light Conditions for Alocasia Melo
One of the most critical aspects of caring for Alocasia Melo is providing the right light conditions. In its natural habitat, this plant grows under the shade of larger trees, which means it is accustomed to bright, indirect light. Direct sunlight can be too harsh, causing the leaves to scorch and lose their vibrant color.
Best Placement: The ideal spot for your Alocasia Melo is near an east- or west-facing window where it can receive filtered sunlight. If you don’t have a suitable window, you can use sheer curtains to diffuse the light. Another option is to place the plant a few feet away from a south-facing window to avoid direct exposure.
Tip: If you notice that the leaves are turning yellow or developing brown spots, it might be a sign that the plant is getting too much direct sunlight. On the other hand, if the plant is stretching towards the light, it could indicate that it’s not getting enough. Adjust its position accordingly to find the perfect balance.
Soil and Potting Requirements
Alocasia Melo thrives in well-draining, chunky soil that mimics the conditions of its native rainforest floor. The soil should retain some moisture but not become waterlogged, as this can lead to root rot.
Best Soil Mix: A suitable mix for Alocasia Melo would include:
- Peat Moss: Helps retain moisture while providing some acidity, which Alocasias prefer.
- Perlite: Improves aeration and drainage.
- Orchid Bark: Adds chunkiness to the mix, allowing roots to breathe.
Choosing the Right Pot: The pot you choose should have drainage holes to prevent water from sitting at the bottom. A terra cotta pot can be a good choice as it allows excess moisture to evaporate through its porous material. However, any pot with proper drainage will work well.
Repotting Tips: Alocasia Melo doesn’t need frequent repotting. It’s generally best to repot every 1-2 years or when you notice that the plant has outgrown its current pot, with roots beginning to circle around the bottom. When repotting, be gentle with the roots, as Alocasias can be sensitive to disturbance.
Watering Alocasia Melo
Watering is another crucial factor in keeping your Alocasia Melo healthy. This plant prefers to be kept consistently moist, but not soggy. The goal is to mimic the damp conditions of its natural habitat without overwatering.
Watering Frequency: The frequency of watering will depend on your home’s environment, particularly the humidity and temperature. As a general rule, water your Alocasia Melo when the top inch of soil feels dry to the touch. In more humid conditions, you might water less frequently, while in drier environments, you may need to water more often.
How to Water Properly: When watering, do so thoroughly until water drains out of the bottom of the pot. This ensures that the roots are getting adequate moisture and helps to flush out any salts or minerals that can build up in the soil.
Signs of overwatering or underwatering:
- Overwatering: Yellowing leaves, mushy stems, and root rot are common signs of overwatering.
- Underwatering: Leaves may start to droop or develop brown, crispy edges if the plant is not receiving enough water.
Tip: During the winter months, Alocasia Melo’s growth slows down, and its water needs decrease. Adjust your watering schedule accordingly to prevent overwatering during this period.
Humidity and Temperature Needs
Alocasia Melo, being a tropical plant, thrives in high humidity and warm temperatures. To keep your plant happy, you’ll need to recreate these conditions as much as possible.
Optimal Humidity Levels: Alocasia Melo prefers humidity levels of 60–80%. If your home tends to be dry, especially during winter, consider using a humidifier to maintain the right humidity levels. You can also place the plant on a tray filled with pebbles and water, ensuring that the bottom of the pot doesn’t sit in the water but benefits from the evaporating moisture.
Temperature Range: The ideal temperature range for Alocasia Melo is between 65 and 85 °F (18 and 29 °C). This plant is sensitive to cold drafts and sudden temperature changes, so it’s essential to keep it away from windows or doors that might expose it to chilly air.
Seasonal Adjustments: During the winter, when indoor heating can lower humidity, it’s crucial to monitor the plant more closely. If the air becomes too dry, you might notice the leaves starting to brown at the edges. In this case, increasing humidity around the plant will help prevent damage.
Caring for Alocasia Melo Like a Pro
Fertilizing Alocasia Melo
Fertilizing is a key component of caring for Alocasia Melo, as it ensures the plant receives the necessary nutrients to thrive. Given that this plant is a heavy feeder during its active growth period, providing the right nutrients will significantly impact its overall health and appearance.
Best Fertilizers: For Alocasia Melo, a balanced liquid fertilizer with an NPK ratio of 10-10-10 or 20-20-20 works well. These ratios provide an even distribution of nitrogen (N), phosphorus (P), and potassium (K), which are essential for healthy foliage, strong roots, and vibrant growth. You can also opt for a fertilizer specifically formulated for houseplants, which will cater to their unique needs.
How to Fertilize Properly: During the growing season—spring and summer—feed your Alocasia Melo every 4-6 weeks. It’s important to dilute the fertilizer to half strength to avoid burning the roots, which can occur if the concentration is too high.
Tip: Always water the plant thoroughly before applying fertilizer to prevent root burn and to help the nutrients distribute evenly throughout the soil.
Avoiding Over-Fertilization: Over-fertilization can be just as harmful as under-fertilization. Signs of over-fertilization include yellowing leaf edges, brown tips, and a white crust forming on the soil surface. If you notice any of these signs, flush the soil with water to remove excess salts and minerals.
During the dormant period in fall and winter, Alocasia Melo’s growth slows down significantly. Reduce fertilizing to once every 2-3 months or stop altogether, depending on the plant’s condition. This rest period allows the plant to conserve energy and prepare for the next growth cycle.
Pruning and Maintenance
Regular pruning and maintenance are crucial to keeping your Alocasia Melo looking its best. Pruning helps the plant direct its energy towards new growth and maintain a tidy appearance.
When and How to Prune: Prune your Alocasia Melo by removing yellow, damaged, or dead leaves. This not only improves the plant’s appearance but also prevents the spread of disease and pests. Use a pair of clean, sharp scissors or pruning shears to make clean cuts close to the base of the leaf stem.
Tip: Always sanitize your tools before and after pruning to avoid introducing pathogens to the plant.
Cleaning the Leaves: Due to their thick, leathery texture, Alocasia Melo’s leaves can accumulate dust over time. Regularly cleaning the leaves helps the plant photosynthesize more efficiently and keeps it looking vibrant. Use a soft, damp cloth to gently wipe down the leaves, avoiding harsh chemicals or leaf shine products, which can damage the plant.
Tip: Cleaning the leaves also gives you a chance to inspect for any signs of pests or disease.
Monitoring for Pests: Alocasia Melo, like other houseplants, can be susceptible to pests such as spider mites, aphids, and mealybugs. These pests can be particularly troublesome if left unchecked. Regularly inspect your plant, especially the undersides of leaves, where pests often hide.
If you notice an infestation, treat it immediately with organic pest control methods such as neem oil or insecticidal soap. These treatments are effective yet gentle enough not to harm your plant.
Tip: Increasing humidity around the plant can help deter spider mites, which thrive in dry conditions.
Common Problems and Solutions
Even with the best care, Alocasia Melo can sometimes encounter issues. Knowing how to identify and address these problems is key to keeping your plant healthy.
Yellowing Leaves: Yellowing leaves are a common issue and can result from various factors. Overwatering is the most frequent cause, leading to root rot, which prevents the plant from absorbing nutrients properly. To fix this, adjust your watering schedule and ensure the soil has proper drainage. Yellowing can also occur due to insufficient light. If your plant isn’t receiving enough light, move it to a brighter location where it can thrive.
Drooping Leaves: Drooping leaves can be a sign of several issues, including low humidity, overwatering, or even underwatering. Assess your plant’s environment to determine the cause. If humidity is low, consider using a humidifier or moving the plant to a more humid room like a bathroom. If the soil is too dry, increase your watering frequency, but if it’s waterlogged, allow the soil to dry out before watering again.
Root Rot: Root rot is a serious condition that occurs when the plant’s roots sit in waterlogged soil for too long, leading to decay. Signs of root rot include mushy, discolored roots and a foul odor coming from the soil. If you suspect root rot, carefully remove the plant from its pot and inspect the roots. Trim away any affected roots with sterilized scissors, then repot the plant in fresh, well-draining soil.
Tip: To prevent root rot, ensure your pot has drainage holes and avoid overwatering.
Repotting Alocasia Melo
Repotting Alocasia Melo is an essential task that allows the plant to continue growing healthily. As the plant matures, its root system expands, eventually outgrowing its current pot.
When to Repot: Typically, Alocasia Melo should be repotted every 1–2 years. Signs that it’s time to repot include roots growing out of the drainage holes, the plant becoming top-heavy, or a noticeable decline in the plant’s health despite proper care. The best time to repot is in early spring, just before the plant enters its active growth phase.
Steps for Repotting:
- Prepare the New Pot and Soil: Choose a pot that is 1-2 inches larger in diameter than the current one and has drainage holes. Fill the bottom with a layer of fresh, well-draining soil mix.
- Remove the Plant from Its Current Pot: Gently tip the pot on its side and carefully slide the plant out, supporting the base of the plant as you do so. If the plant is root-bound, you might need to lightly tap the sides of the pot to loosen it.
- Inspect and Trim the Roots: Check the root ball for any signs of rot or disease. Trim any unhealthy roots with sterilized scissors.
- Place the Plant in the New Pot: Position the plant in the center of the new pot and fill it in around it with fresh soil. Ensure the plant is at the same depth as it was in the previous pot.
- Water Thoroughly: After repotting, water the plant thoroughly to help settle the soil and eliminate any air pockets.
Tip: After repotting, your Alocasia Melo may go through a brief period of adjustment or shock. Reduce direct sunlight exposure and keep the soil slightly moist to help the plant recover.
For more detailed tips on repotting, you might find this guide on how to repot an orchid helpful, as many of the principles are similar.

